About Me

My photo
Corona, California, United States
I am 28 years old and married to my best friend, Nicholas. We have two beautiful boys together, Caleb and Noah. I am a full-time stay at home mom and these are my confessions...

Nick

Nick
{the Hubby}

Caleb

Caleb
{the Oldest}

Noah

Noah
{the Baby}

{FAMILY}

{FAMILY}

Posts You May Have Missed:

Tuesday, April 30, 2013

{Summer Americana Themed Porch}


I am jumping the gun a bit by pulling all my summer decor out but tomorrow is May! I associate May with summer time..the start of the BBQ season!!! I wanted to share with ya'll my porch in all it's Americana splendor! I re use as much as possible, which meant puling out my red pillows I used during Christmas last year for pillows on my wooden chairs. I was considering buying some fabric and making some custom pillow covers but the red pillows will work perfectly! Less work, less $$ spent! Hooray! Everything I did purchase, craft paint, paper mache stars, scrap book paper, etc/ was purchased at Hobby Lobby! My favorite store...or they are tied with Lowe's! Haha. Here is a picture walk through of my porch decor. =)


Here is a little bit of a closer shot of the porch. I left my grey frame with drop cloth covered canvas as a back drop for my table. It also adds some great height and texture. 

I bought paper mache stars in two sizes at Hobby Lobby and used some craft paint in red, white and blue I hung them off of branches I had from my backyard and also hot glued two paper pin wheels in coordinating paper


I painted a scrap piece of wood with some red craft paint, distressed it and used some themed scrap booking paper I bought at Hobby Lobby to make the stripes and star section. 

I am really loving pin wheels this summer season and my porch is no exception! I used two American themed scrap book papers with bronze tacks to create them... using the same method found here


These nautically themed hooks were the perfect shades of red white and blue
! I scooped these up at 50% off at Hobby Lobby this week!

This American themed picture box added some great height to my branch arrangement.
 It was %3.99 at Hobby Lobby. The little lighthouse was from who knows where? 

My big window needed a garland of some type so I used scrapbook paper and card stock
 to create these awesome vintage looking paper banners, just like I did for Easter. (See HERE)!
 I used small wooden clothes pins to hang them off some jute twine strung across the window!

I used two paper folded circle on either side of a huge pin wheel! 


God Bless America!
{QoK}

Saturday, April 27, 2013

How To Make Paper Pinwheels!


When it comes to my mantel, I try to hand create custom banners that go with my theme and color scheme. For summer it was no different! I wanted a colorful banner to string across my mantel in navy and coral colors that just screamed summer fun! I have made glitter banners and vintage-like paper banners but I wanted something different. So, I begin brainstorming on what type of items reminded me of summer and the paper pinwheel idea was born! I had already scooped up navy and white striped paper along with some coral card stock when they were 50% off at Hobby Lobby last month. You can get a 12" x 12" sheet for about .25! One sheet will make 4 pinwheels! I made 4 small pinwheels and one large. This whole project cost me $1 for paper, the other items I had on hand already. I double layered my papers to have a different pattern on the exposing sides. You can just use one sheet if you would prefer. 


 Here is what you will need:
  •  Jute Twine
  • Small Clothespins
  • Decorative Tacks
  • 12" x 12" paper in Coordinating Colors
  • Scissors
  • Hot Glue Gun
Small Clothespins

Decorative tacks

2 Types of 12" x 12" paper for my pinwheels

Fold the paper down the middle both horizontally and vertically

You should have a cross from your two folds. Go ahead and cut the paper into the 4 equal squares

Using Scissors, cut diagonally towards the center of the square until you get about 1/2" out from the center. 

These are ready to be glued, note DO NOT cut all the way through! 

Using your glue gun add a bead between your two pieces of papers
 and a bead of glue on the sheet you re folding in towards the middle

Fold in towards the center and hold down for a couple of seconds
Here is one glued and read to be finished off.
 Depending on how you layer the paper you will get a different pattern on your pinwheel.
Push your decorative tack through the middle and bend the back with some plyers.

Ta-Da!

Use your small clothespins to hang each pinwheel off of a secured jute twine strung across your mantel!
I alternated the patterns and made a large pinwheel using one sheet of 12" x 12" paper and the  the same method above to make it for  the center.


{QoK}

Friday, April 26, 2013

{Free Summer Printables}


I am an early bird and setting up all my summer decor today. I will have some reveals later on this weekend. In the dining room we are honoring our great country with a Americana theme that extends out to the front porch. Here are some of the free printables I will be incorporating in to my home decor this summer season =)


God Bless America printable in 5x7 and 8x10 over at Landee see, Landee do


One-Nation Under God Printable over at Detail Oriented Diva


Pledge Allegiance Overlap Printable over at Creations by Kara 


My Country Tis of Thee Printable  and America, America! Printable over at HMH Designs


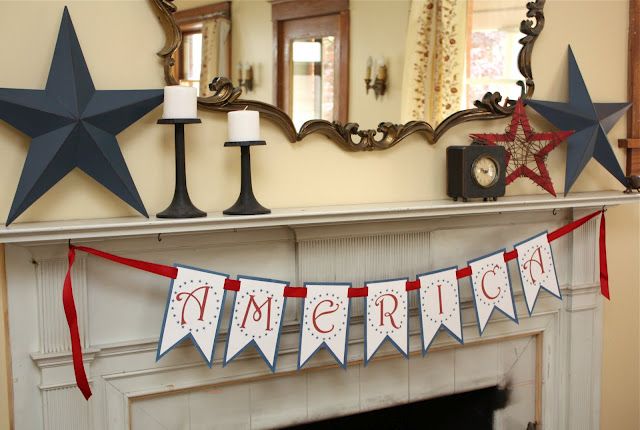
America Banner Printable over at Second Street


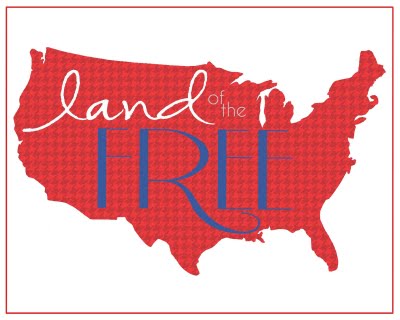
Land of the Free Printable over at I Heart Nap Time


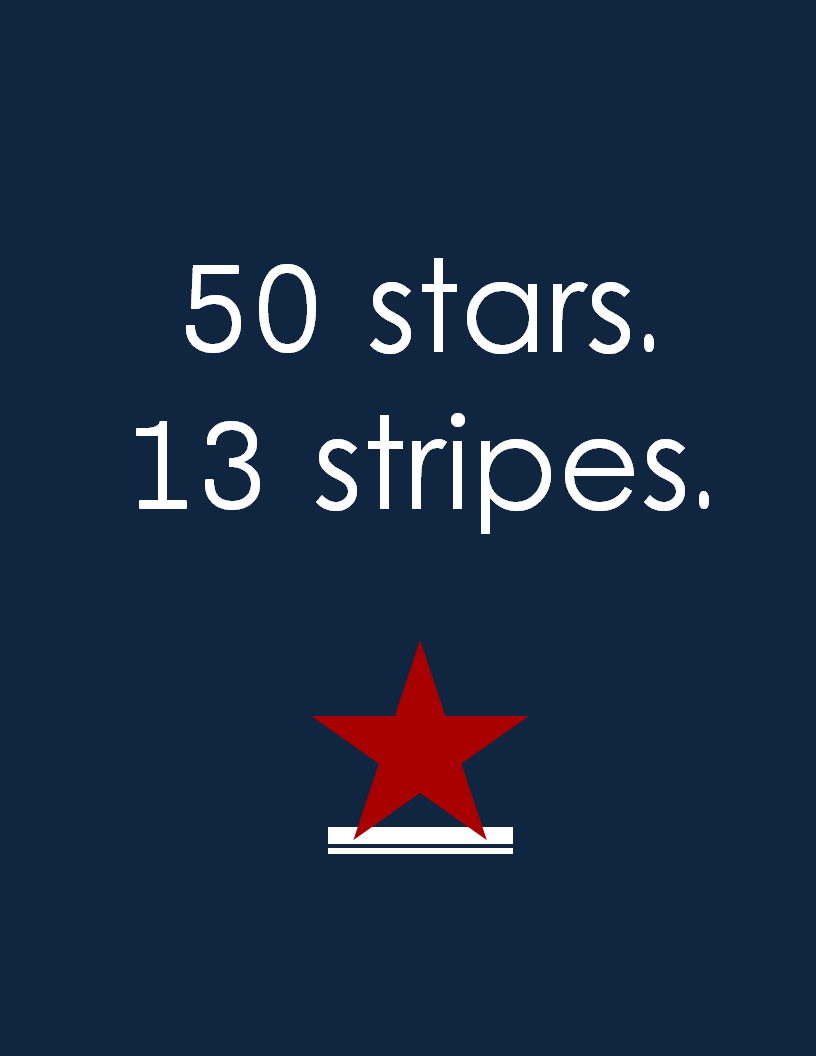
5 stars. 13 stripes. printable over at Madigan Made


I Pledge Printable over at Eighteen25

Let Freedom Ring Printable over at I Should Be Mopping the Floor


America Subway Printable over at The Perfect Card for You


Saturday, April 20, 2013

Pottery Barn American Flag Knock Off

Sheet of plywood, cut down 27" x 50"
Spray paint FAIL

Have you seen the HUGE Wooden Pottery Barn American flag on their website?? Drools! I am LOVING it! With BBQ season and summer around the corner, I knew this was a piece I had to make for my home. It is HUGE at a whopping 50" long and 27" high! When I first showed my hubby this piece, he said "Where the heck are we putting that?" I didn't have an answer, I still don't. It is currently sitting in our garage while I debate hanging it on the porch or putting it inside of our home. To create our flag you will have to make a couple trips, one to a Home Depot or Lowes and the other to a Michael's or Hobby Lobby. I was tempted to make a smaller version of the flag, but knew I wouldn't be happy unless I KNEW it was the exact size as Pottery Barns. Imitation is flattery, right?

 Head down to your local HD or Lowes and head to the lumber section. For this flag you will need to purchase some plywood. You can't buy the super cheap, particleboard sheets because you are painting the whole thing and need wood grain to come through when you distress. The sheet we bought was around $25 and the nice man at Lowe's cut it down to 50" x 27" for me. (You do get all the scrap, which was about 3 more pretty big pieces for more projects later) You will also need to buy some painters tape, if you don't have some already. You will need some craft paint in our flag's colors, red, white and blue and 50 star stickers.No, you cant try and re use them to save $$$, it won't work!  I bought two red and blue bottles of craft paint, and actually used regular latex paint for the white I had sitting around at home.  Honestly, I tried spray painting the wood with white paint at first to save time and that was a FAIL! You could use spray paint, but it would take multiple cans worth! Luckily I have lots of paint left over from the plethora of projects I do around here and I was able to salvage it without any additional costs!  After my coat of white latex paint dried, I started adding my star stickers. I felt this was the easiest way to get uniform lines of stars for my flag, and it worked pretty well. I measured out about 2.25" between each star, horizontally and placed ALL 50 stars. PAIN! Then I taped off and covered the rest of the flag to apply my blue color. First I was lazy and used some blue spray paint I had on hand. Brilliant blue, and it was a little brighter than I wanted. So, I used some craft paint to add some dimension and darken the blue up a bit. It is VERY important that you remove the star stickers while the paint is still wet, otherwise the paint will peel and rip and be UGLY around your stars. For the most part all my stars came out pretty good. I touched up a few, but all in all I was pretty impressed.

Measure out your stars for placement.


Used 50 stickers.

Two paints I used.

Paint blue over all your stickers!


For the stripes I handed that over to my hubby. Because me and math don't mix...apparently neither do me and grammar. Haha.  He figured out the stripe measurements and taped it all off for me, so all I had to do was paint! Yipee!
I would suggest using a dark primer under the red, otherwise you will go through a lot of paint for your red stripes. Again, remove the tape white the paint is still wet. I did have some bleeding, but I was able to touch that up with paint later. I then used a 60 grit sander to distress the piece and added some dark walnut stain to the edges and in a couple spots on some red stripes for some dimension and character! This sign took A LOT of work and math, but the end result was well worth it! Stars & stripes forever!!!


{QoK}

Saturday, April 13, 2013

Wooden Monogrammed Kitchen iPad Stand Now Available in our Etsy Shop!


Golden Pecan Finish
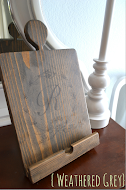
Grey Finish


With Mother's Day soon approaching our kitchen iPad stand makes a perfect gift! Currently available in two finishes, each stand comes with a custom ink transfer of one initial, and with or without a vintage wreath. Our stand allows for two viewing angles.  We are currently processing orders and shipping within 1-2 weeks.