About Me

My photo
Corona, California, United States
I am 28 years old and married to my best friend, Nicholas. We have two beautiful boys together, Caleb and Noah. I am a full-time stay at home mom and these are my confessions...

Nick

Nick
{the Hubby}

Caleb

Caleb
{the Oldest}

Noah

Noah
{the Baby}

{FAMILY}

{FAMILY}

Posts You May Have Missed:

Showing posts with label vintage. Show all posts

Monday, February 25, 2013

DIY Vintage-Like Easter Banner


{DIY Vintage-Like Easter Banner}


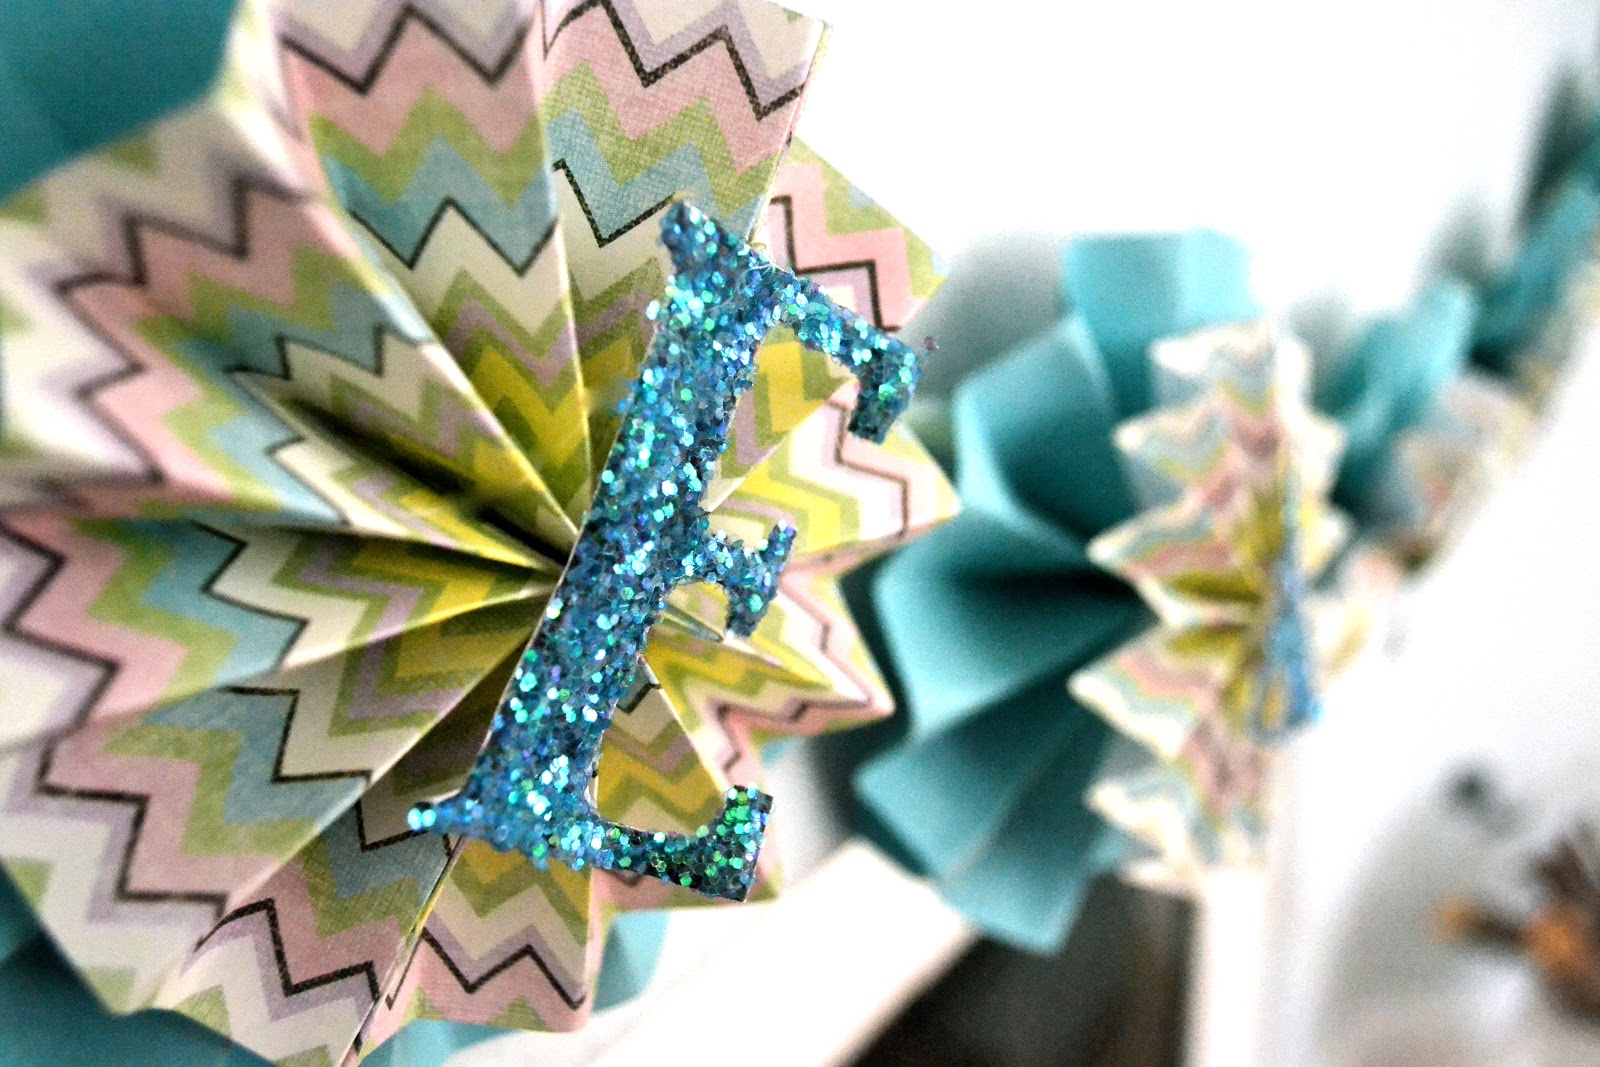
DIY Glitter Banner for Valentines Day
I am the type of gal who likes to decorate my whole downstairs floor according to the season/holiday we are in. We have been in our home about a year and a half  and this is the first year I have been going all out as far as decorating! Because we are one one income and I stay at home with the boys I DIY pretty much all of my seasonal decor! With Easter soon approaching I knew it was time to get started on some cute decor that would match with the rest of the colors and styles in my home. I have made two glitter banners for Christmas, and Valentines Day (See photo on right) which turned out fabulous but I wanted something with a little more color and texture this time around. While I love cute holiday and seasonal decor at the stores I also like to customize and DIY things for the least amount of $$$ possible! So when Hobby Lobby had 50% off of all scrapbook paper I scooped up a handful to make my banner! One sheet of paper will make two folded circles, so to spell out Easter I needed 3 sheets of each paper. Choose one paper as your larger background circle and another for the small circle you will place your letters on. I decided to do a solid for the back since I have TONS of teal in my home and I wanted it to be the primary color for this banner. I found a awesome chevron pattern with great Easter colors I chose are my smaller circle! I think I spent $3 on all six sheets of paper! Score! This project is super easy, but a bit time consuming!
Here is what you will need:

-3* 12" x 12" Paper for the larger circles (1 sheet makes 2 circles)
-3* 12" x 12" Paper for the smaller circles (1 sheet makes 2 circles)
-Glue Gun
-Scissors
-Ruler
-Glittered Letters
-String or Clear Fishing Wire
-3/8" Ribbon


Start by measuring and cutting all of your paper. I used the teal paper for my larger circle and the sheets were 12" x 12", so I simply folded them down the middle and cut them in half- 6" x 12". Your second set of circles need to be smaller to allow your other to show so I cut the paper to about 4.5" x 12". Once all your paper is cut it is time to fold! This process was time consuming but easy! Fold your paper in an accordion like manner using 1/2" folds as best you can until you reach the end. Then find the center and use string or clear fishing wire to tightly tie in the center.

 
 Begin on the end making 1/2" folds

Use a string or clear fishing wire to tightly tie in the center

Tie in the center!
Now you are ready to start gluing! Fire up your hot glue gun and run a line down the right of side of one of the ends of your folded paper (see below). Carefully using your hands, attach the glued side to the un glued left side of the paper and firmly press down making sure the ends meet and are lined up. Press down ensure that the two sides are attached to one another making a half circle form! Do the same to the other side and a circle is born!

Run hot glue down the right half of the paper!
  
       Firmly attach side together allowing glue to dry before releasing!
                           

Go through the same process until all your solid and patterned circles are complete. Use hot glue to attach your smaller circle to the larger and then get ready to begin lettering each circle! There are a couple of different routes you can go for lettering depending on your time and budget. There are ready made cardboard cut out glittered letters available at craft stores but they run around $7 and may not include enough of the letters you need. You could also purchase wooden letters and used glue to glitter them, but that is costly as well) I have experience creating glittered letters for my holiday banners in the past and I had everything on hand so I went that route again. This is time consuming but very low cost if you have the supplies on hand. I went on to the computer and chose a chunky font and spelled out "EASTER" and printed it on to some card stock! I used scissors to cut out each letter by hand, (this was the time consuming part) and used some basic Elmer's glue and glitter to cover each letter completely. After drying I use my BFF for this project, hot glue to attach the letters to the center of each patterned circle! I was debating on whether I should attack the circles to clear fishing wire like I have to banners in the past and opted for something a littler nicer this time around! I picked up a couple of coordinating shades of 3/8" organza ribbon and threaded them through the back so I was able to move and space each circle when it was hung on the mantel! To do so, I poked through holes through the back of the teal ( be sure to do this close to the center in a area that will be covered by the patterned smaller circle), larger circles making sure the placement of my holes would allow the lettering to remain as level as possible. I threaded the two ribbons together through the backs of each circle and voila! If you look super close up you can see the seams of the paper but it is hardly noticeable. All in all this project cost me around $6, because I had  some of my items on hand. I love the vintage like look of the banner and you can create the same look for any occasion! There are so many great scrap booking papers readily available at craft stores the possibilities are endless!!


{QoK}


Monday, February 18, 2013

New Crate turned Vintage Easter "Basket"

Every time I set foot in a store I am bombarded with a multitude of pastel reminders that Easter will be upon us quickly!!  Our two boys are the first grand kids on my side of the family, and with my brother and sister-in-law being stationed on the east coast we have yet to have an Easter egg hunt around here! In fact, our boys have no clue who the Easter bunny is and he supposed role in Easter. In all honesty we will probably never share that with them. Because it's not about the bunny!! We want all our holidays with our boys to be focused on Christ and the reasons that we as born again Christians celebrate them! Granted we aren't grinches and do intend to let them have divulge in some fun...just minus stories of false gigantic bunnies running around planting random eggs in our yard and leaving pastel baskets filled with far too much candy than humanly possible to consume, in the mornings.


This post however isn't about what we will and will not take part in, but rather I wanted to share with you a tutorial on a alternative to the plasticky, or wooden bright Easter baskets that are available in our stores. First off, they are expensive...$9.99+ for a basket? One that is so specifically colored that there is no way on earth I could incorporate that in to my home decor to give it more use. Secondly, they are as I just stated very specifically colored. Thirdly, have you ever tried to store these things? They are such a odd shape and I can never find a great place to store them without them getting damaged or buried underneath random items in our garage or closets. So this year I sat, trying to think of an alternative to the traditional Easter basket. Something that looked great and I could incorporate in to my home decor, if I decided to. Or, something that would be functional the boys could continue to use all year long. Thus the Easter crate idea was born!

Here are the supplies you will need:

-Small Wooden Unfinished Crate -Bought mine @Michaels with a 50% coupon for $3.77
-Wax Paper
-Ink Jet Printer
-Damp Towel
-Miniwax Stain
-Old rag
-Sharpie
-150+ grit sandpaper
-Craft Paint
-Sponge Brush 

First things first remove the label off of your crate. It does leave a sticky residue that WILL NOT stain properly so I used some Krud Kutter to remove the residue and gave it a light sanding with 220 grit paper to make sure it was a smooth as a baby's bottom!!


 Now on to the ink transfer! Having not liked the fonts available to me on my computer program, Pages, I searched the web and found a plethora of free font downloads! I was torn between doing a very classic stencil font or something a little more vintage looking without being overly girly for my two boys! I ran across this font, Hawaii Killer, I am not sure what's so killer about this font, but I loved its vintage appeal!


After a green light from the hubby that it was not too girly, I proceeded to print some trials to get the sizing right! The first letter of their names was printed at 175pt font and the rest of their name at 200pt. Otherwise the first letter would not fit on to the crate correctly. Trial and error! Of course any font will do, so find something you love!


 Make sure to MIRROR your image before printing also! My program has flip horizontally button at the print screen, which took care of that! Easy peasy, as my four year old says!
For the actual printing I experimented with wax paper transfer! It worked the first time like a charm for my oldest sons crate, but I did run in to a few snags the second time around! So in the end I was able to print both names in two different ways which I will share with you.The first way was to cut a piece of wax paper the same size as a sheet of paper and tape it down to a sheet so the printer accepted it as one piece.  You do need to find out the way your printer will print the image on the paper, in my case I had to lay the wax side down in the paper feed for it to print on the wax side. I had no problems the first time I did this. I tried again this method and this time my printer ate it up!! So instead of wasting tons more wax paper and jamming my printer I printed the image on a normal sheet of paper and cut a wax piece a little larger than that and taped it on to another black piece of paper in the spot it would print the image again. I fed it in upside down and it worked perfectly! 


I separated the wax paper off the paper carefully and being conscious not to touch the ink in any way as it is very wet and WILL smudge if touched! I dampened the wood with a wet rag, just enough to help take the ink on to the wood darker. You don't want the wood to be sopping wet but just lightly run the dampened rag over it and it should work! Then just eye balling it I looked for the center and then lightly layed the wax paper down. I have seen many tutorials saying to use a credit card to transfer the words, and I did do that the first time around and it caused a lot of ink bleeding that I later had to sand out with the first crate. So I just lightly used my fingers to lightly tap down on the letters and transfer the ink.


I used a sharpie to carefully add any ink that I felt didn't transfer well onto the wood and sanded off any bleeding or markings I didn't want on the crate. Now you are ready to stain! I wanted a lighter, weathered look, but you can use any stain you prefer! I took my hammer and used the back part, I have no clue what the techincal name for it is... and made a bunch of dents all over the crate to give it a older look! Then I took my Miiwax, Classic Grey stain and used a sponged brush to apply. Make sure your words or images are completely dry to the touch before proceeding to stain!


Be sure to cover ALL your crate, for a true vintage look! You don't want parts of unstained new wood peaking out from the crevices! I gave my crate about 10-15 mins to soak in the stain and then wiped off the excess with a old rag. To give it some warmth I also used some brown craft paint I had on hand, and just wiped it on with a rag! You could also use some darker stain, but I was too lazy to go to the garage to retrieve it. I love the warmth it gives to the piece, and I think the colors really compliment one another.

 Be sure to seal your crate, I personally like buffing a layer of wax for a perfect finish! I love that my boys can continue to use these crates all year long to store toys or books in! I may add some caster wheels to the bottom that was they can roll them around the house as well! Good luck making your crates! 


{QoK}